Widgets
Widgets act as a miniature application that provides/gets the information to/from the user respectively. This user input can also be used in the subsequent steps of EnCap Workflow.
Typical widgets that you may use in Twixor EnCaps are Geolocation,Cards, and Rich Cards.
Geo Location Widget
This widget is used to track the user's current geographical location on a map. This location information can then be used to
- Find the user's nearest physical location in order to enhance the user's experience.
- Shape the information according to their location. For example, you can suggest the exciting offers in the nearby stores based on their location.
For example, let us create an EnCap called "Geolocation Widget" to explore about Geolocation widgets.
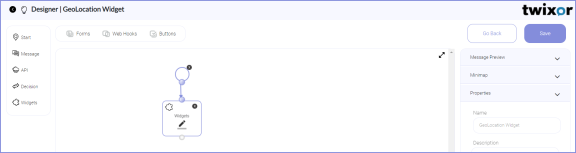
- Click
 in Widget node to create a new Widget message.
 - Configure the widget properties as given below:
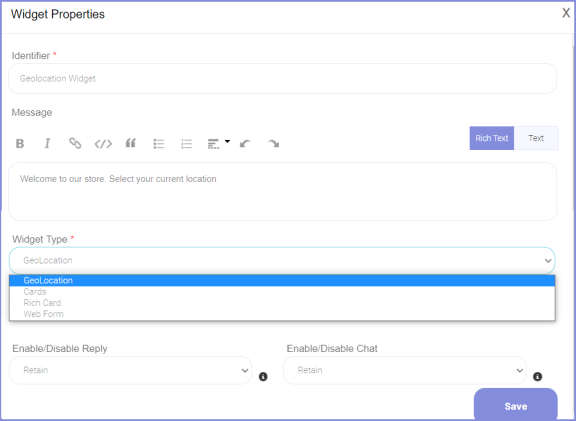
- Give a unique Identifier and enter the Message to ask the user to select their current location.
- Select the Widget Type as GeoLocation if you want to use location tracking (GeoLocation) widget.
- Click Save to save the created geolocation widget.
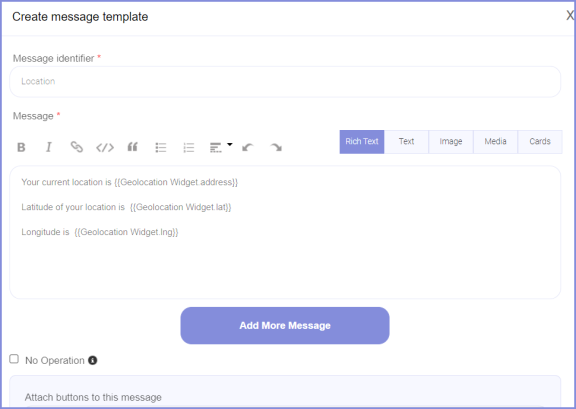
- You can also fetch and display the address, latitude, and longitude information of the user's current location in a message by creating a message template as shown below:
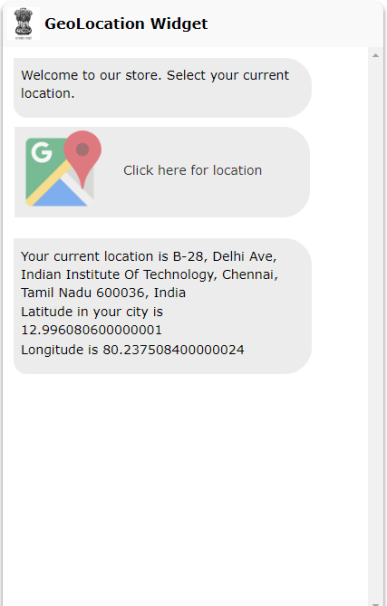
Output:
Cards
Want to use a wide range of content and responsive images in your EnCap? For this purpose, Twixor EnCaps offers you an elegant container called Card Widget. The Cards can be used to grant your customers with an exact set of information that guides them to their next best experience on your EnCap.
Based on the need of your target audience, you can engage your customers by designing the EnCap message with horizontally scrollable carousel.
To use Cards widget in your EnCap, follow these steps:
- Create an EnCap called Cards Widget.
- Begin the flow with the Start node.
- Then, drag and drop the Widgets node from the palette.
- Click in Widget node to create a new message related to Cards.
- Configure the Card Widget Properties as given below:
- Enter an Identifier and type the Message to describe the card.
- Select the Widget Type as Cards.

The cards may contain multiple images and each Image can have Image URL, Value, Description, and Footer.
These parameters can be either static one or dynamically referred from a variable.
Configure Cards using Static Parameters
Let's create a card for an example by providing its parameters directly in the appropriate fields.
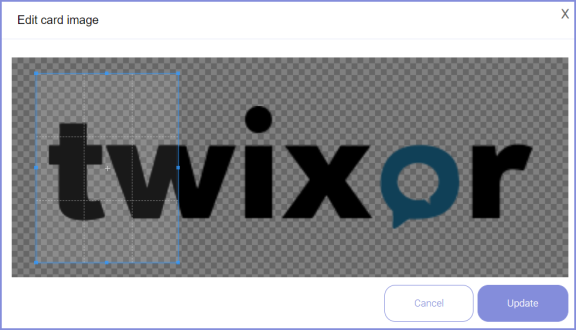
1. Select an Url for an image by clicking on the default image. After selecting an image, its URL will be automatically placed in the Image Url field.
2. Enter the Value which is the short lead to the additional content in card.
3. Give a longer Description for the actionable images placed on the card.
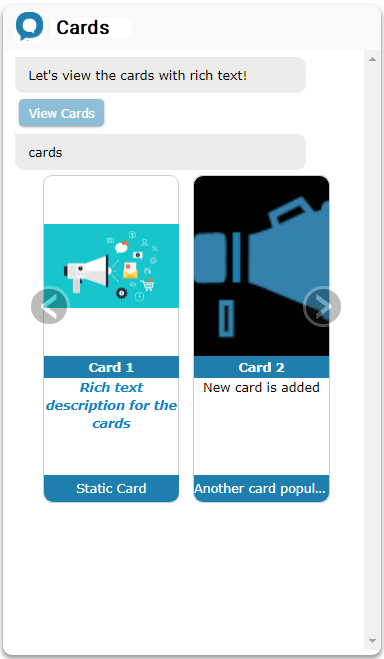
4. You can also give the rich text description for the cards. Click +Add button to add a new card that will be displayed in the horizontally scrollable carousel as shown below:
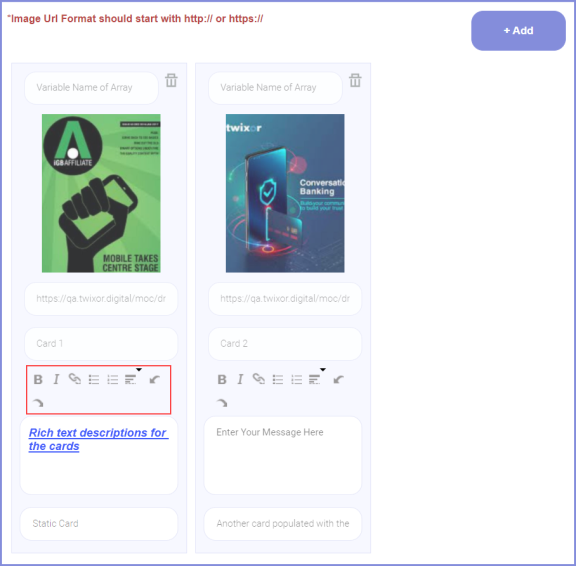
Below shown are the cards with rich text formatting styles. In this example, we've applied the bold and Italic formatting and provided the hyperlink to the card description.
4. Then include an optional footer within the card.
Create Cards using Dynamic Variables from Appiyo
Let we also use the external variables defined in Appiyo in our card widget created in Twixor EnCaps. In order to refer the variables dynamically from Appiyo, first, define the variables in Appiyo. The card parameters like ImageUrl, Value, Description, and Footer can also be referred dynamically from an external variable.
Defining Variables in Appiyo
Steps given below shows you the way to define the variables in Appiyo.
1. Go to Appiyo.com and Sign In using your Appiyo credentials.
2. Create a pool called Card Widget under Widget Workflow in Appiyo by following the steps illustrated in the Creating Process section of API Node guide.
3. Then create and define the variables for using them in card widget.
4. Select the Card Widget pool and click Add Variable to add the associated variable.
5. Add the variables for the Card parameters by using the steps described in the Variables section of the Appiyo User Guide.
The variables added in the Card Widget is given below.
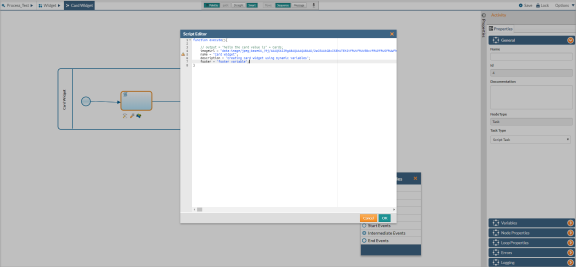
6. Then write a script to give the values for these parameters as given below:
7. Click Save and Deploy to save and deploy the workflow successfully.
8. These variables can then be accessed within the card widgets.
Using Appiyo Defined Variables in Card
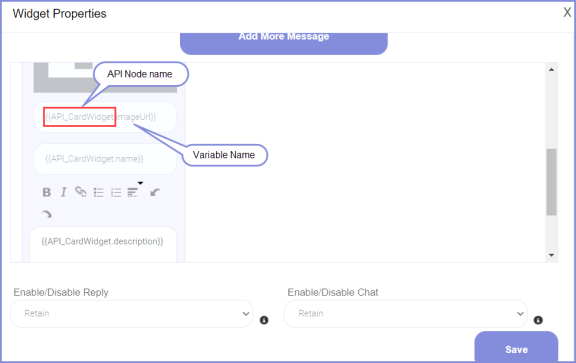
You can dynamically call and use the variables (imageUrl, name, description, footer) defined in Appiyo in the card widget as shown below:
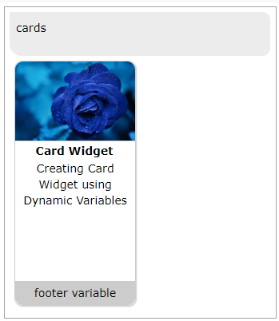
The card in the output launch be like:
Next feature Message Preview allows you to view the messages you have created in message templates.
Render Multiple Cards at Run-time
Multiple cards can be rendered at run-time using the array variable.
Define an array variable called CardArray and assign them the values in a script task within Appiyo as you can see below:
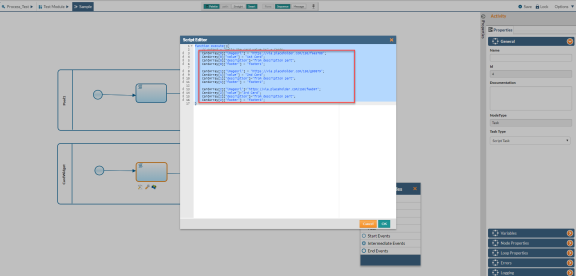
Remember to place the API node before the card widget. Then call the work-flow (In this example, Sample) and process (CardWidget) associated with this card widget using Twixor Compute option.
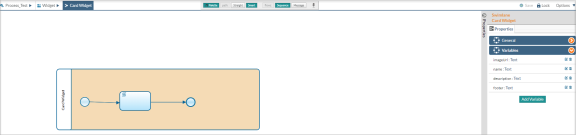
Below diagram shows the properties of the card widget that can be used to render the array variable.
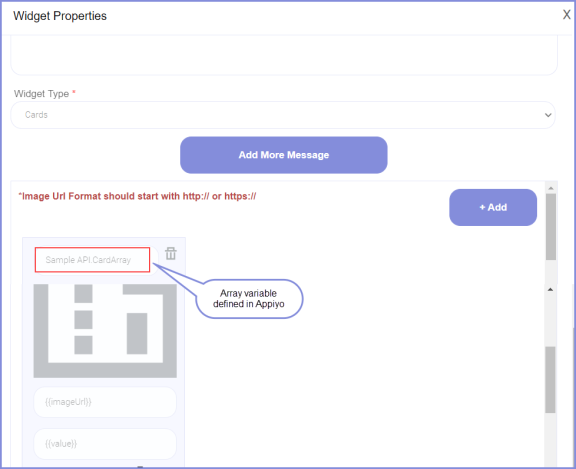
And other variables imageUrl, value, description, and footer are given within double curly brackets in order to fetch the associated values assigned in Appiyo.
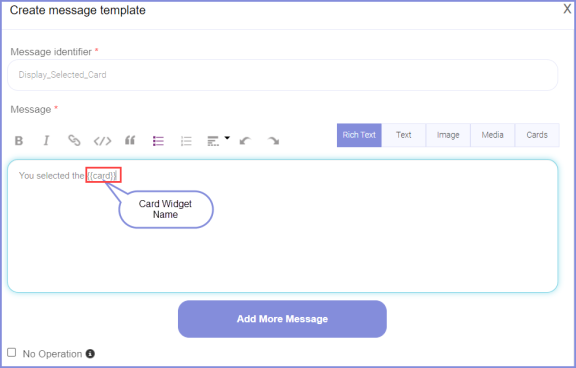
You can also notify the users about the cards selected by them. To do so, place a message template after the card widget.
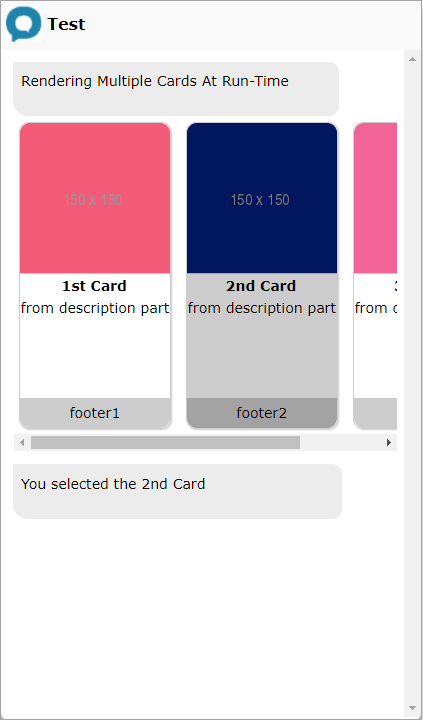
Launch this EnCap so that you will be able to view multiple cards rendered at run-time.
Rich Cards
Nowadays most of the users are demanding visually appealing images rather than a plain text while searching for any content. That's why we have incorporated the Rich Cards feature to enhance the user experience without trans-coding your message.
Let's take an example of the Airline use case and create a rich card for Acme Airlines.
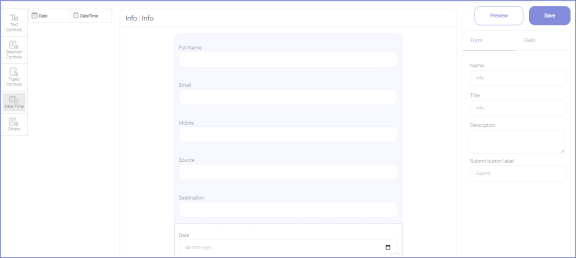
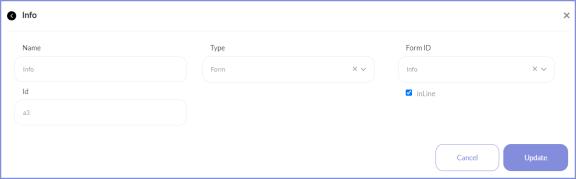
- To begin with, let' create a new EnCap called Rich Card and an inline form called Info to get the boarding details of the customer. To create a form, refer to Create and Delete Forms in EnCaps guide.
- Then create a button called info to call the info form created in the previous step.
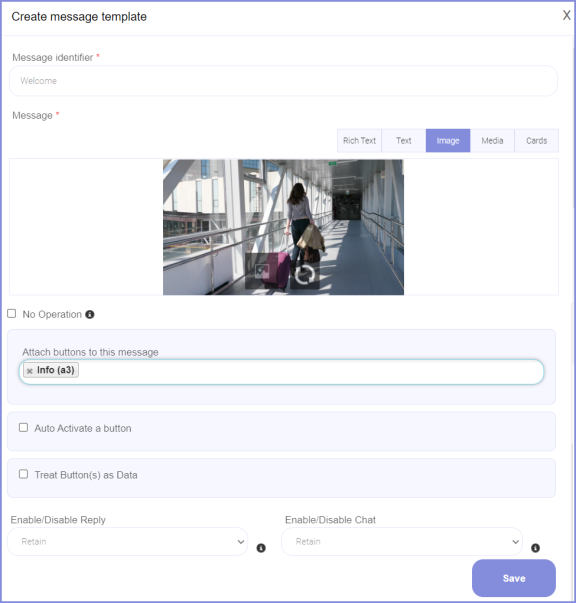
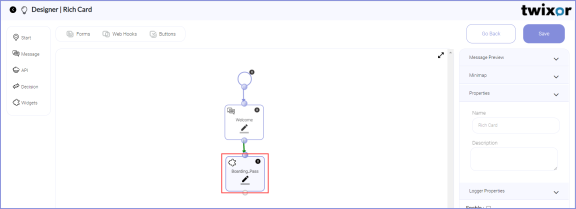
- After creating the form and button, drag and drop the Message node and create a message template to welcome the customer. To create a new message template, refer to the Creating Message Templates for EnCap guide.
- Drag and drop the Widgets node and select the Widget type as Rich Card.
- Give the Height and Width of the rich card in pixels.
- Place the HTML content that will be converted to image (with embedded QR Code) and sent to PWA.

- Click Save to save the rich card. When this EnCap is launched using the steps given in the Launch Configuration guide, the output of the rich card will be:

